Now that you have set up the framework for your online product, it’s time to load content! You will set up the content of your online product through Summit Evergreen’s easy-to-use editor. The pages of content you create within the editor appear to the user as shown in the example below. 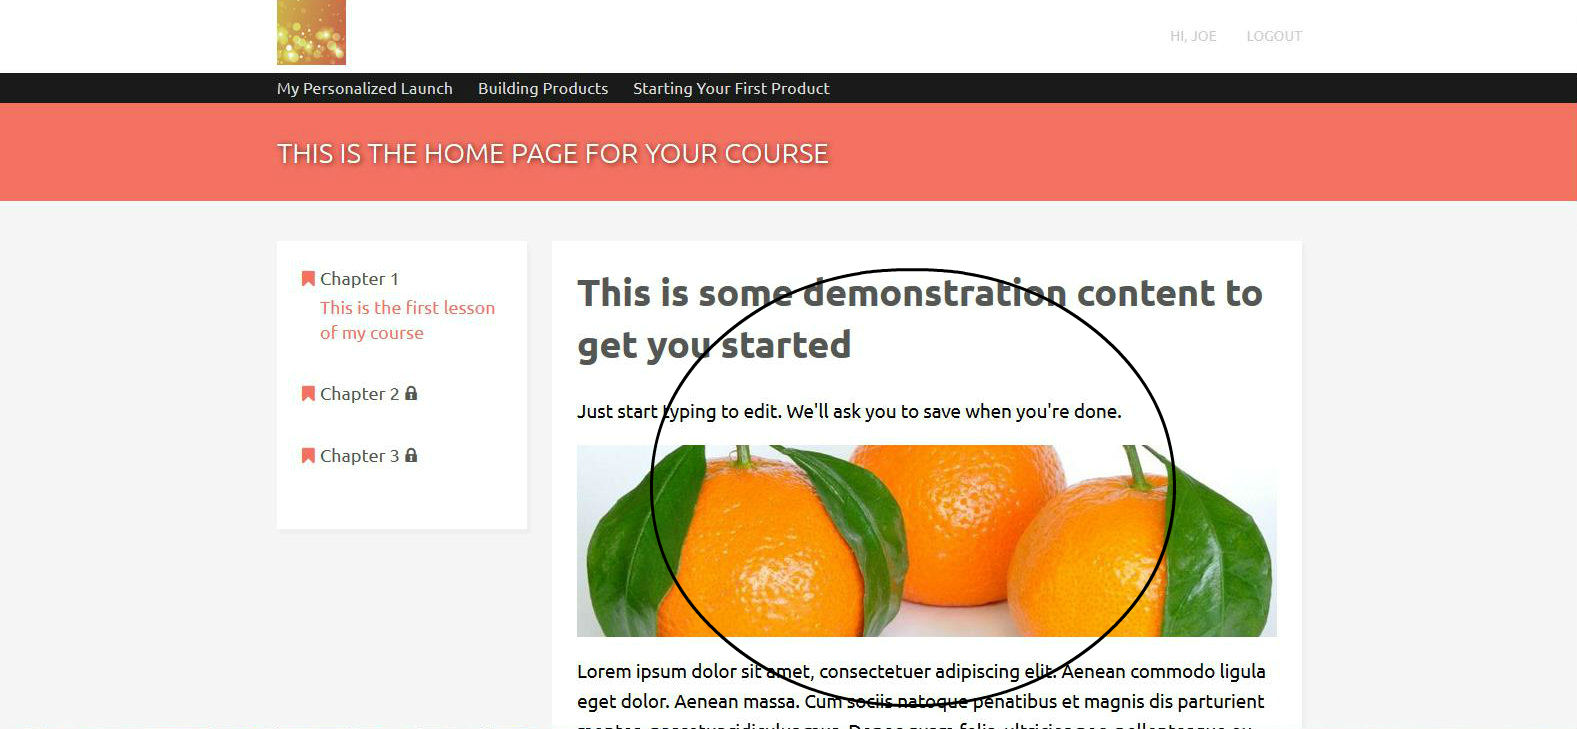 Content is always created and changed via the editor; however there are a few different ways to access the editor:
- Syllabus Menu
- Schedule Menu
- Content Menu
Step 1: Access the Content Menu

- In the left navigation menu, select “Content”
- From the “Content” menu you have access to all your pages, emails, surveys and media file uploads
- Select “Pages”
Step 2: Select the Page to Edit and Access the Editor

- All of the pages you created while building your syllabus will appear in the left pane.
- Click on the page you wish to load content onto. Once you select the page the editor will appear in the right pane.
- Now you can start loading content!
Step 3: Enter your Content with the Editor
There is an additional menu bar in the top right corner of the editor (shown below) that allows for a few more features: 
- Comments Menu – Allows you to view any comments users have left on this specific page
- Settings Menu – Allows you to update the page name, URL, accessibility (including comments), page, and template
- Actions Menu – Allows you to edit the courses in your product that this page is attached to
Step 4: Edit Email Content with the Editor
In the left navigation menu, select “Content”, then “Emails”. The email editor is identical to the content editor with the exception of your email subject line. See below for example:  Note: The content of the emails is changed via the editor. However, changing the timing of emails must be done via the “Drip” menu.
Step 5: Create Surveys
In the left navigation menu, select “Content”, then “Surveys”. In the left pane, select the “Actions” dropdown menu (the white box located to the far right of the word “Survey”) and choose “Add a Survey”. 

- Type the name of your survey.
- A survey can be added as a “followup” to a page, meaning the survey will display directly underneath the content on the page.
- The survey editor will show in the right hand pane after adding a new survey. Use these buttons to “drag and drop” content components into your survey. If you want to delete a component, just “drag and drop” it off the pane!
From here you can add different types of questions by selecting the type you want from the left side “Add Components” boxes. After typing the question in a chosen box, select the “Apply” button. Select the “required” checkbox if the user has to answer the question before submitting. Select the “Settings” tab shown below to customize the survey thankyou message, URL, name, etc.  After your product is live, you can click on the “Results” tab shown below to view the answers submitted to your survey.
 The results show each user’s first and last name, the response, and the date and time submitted.
Step 6: Access Media Files
In the left navigation menu, select “Content”, then “Media”. Here you can access all of the files you currently have uploaded and upload new files. For each file, here is also where you can access file location and URLs. An option you have with “Media” is to upload PDF files. To do so, do the following:
- In the “Media” section, in the left pane, in the white drop down box to the right of the word “File Uploads”, click “Add a New File” – when you do, the following box will then appear:

- In this box, browse and choose the PDF file you want to upload and then hit the “Upload” button (note: the maximum file size that can be uploaded is 64MB).
- In the right pane, you will then see a page that gives information about the PDF file you have just uploaded, including the file’s URL. Note the URL.
- In the left navigation menu, select “Content”, then “Pages”.
- In the left pane, select the page you want to include your PDF file in.
- In the right pane, you will then see the content for the page you have selected – in this content, highlight the text you want to have serve as a link to your PDF file.
- In the editing toolbar at the top of the right pane, click the “Link” button, then “Insert Link” – when you do so, you will then see the following box:
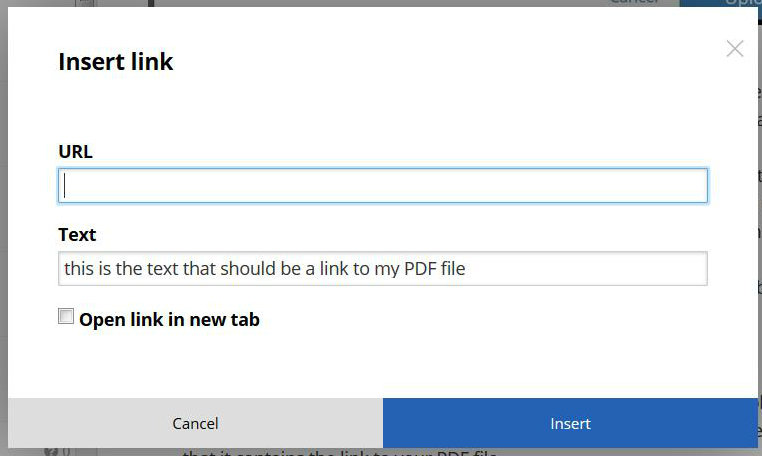
- Here, insert the URL of your PDF file, which you noted after your file upload.
- Hit the “Insert” button, and then you will see your highlighted text appear in blue with an underline, indicating that it contains the link to your PDF file.
Videos and Hosting If you are looking to embed a video in your course, the video will need to be hosted with a video hosting provider. We recommend checking out Youtube, Wistia or Vimeo, we have found that Wistia videos work best with our system. Some plans are free and depending on the features you require, there are paid plans too. After you upload it with your hosting provider, you can then insert it into your content either by either:
- inserting your video’s embed code (provided by your hosting provider), after selecting the “insert video” icon from the content editor
- or, for Youtube, Wistia, and Vimeo videos, by simply copying the video’s URL link into your content and hitting enter (we recommend using Youtube, Wistia or Vimeo, and we have found that Wistia videos work best with our system).
- note: once your video is embedded, in the embed code for the video (which is in the html code), you can adjust the video’s size and alignment as follows:
- to adjust size, add the code class=”audio” to the embed code, then adjust the height and width numbers in the embed code as you wish
- to adjust alignment to be center, add the code <div style=”text-align:center”> immediately before your embed code and the code </div> immediately after it – for left and right alignment, just change word “center” in code to “left” or “right”