When building a product membership site in Summit Evergreen, a great way to customize your site is through the use of graphics. In Summit Evergreen, there are numerous graphics you can incorporate into your site. These include product covers, favicons, theme headers, backdrops, page thumbnails, and miscellaneous content images.
Product Covers
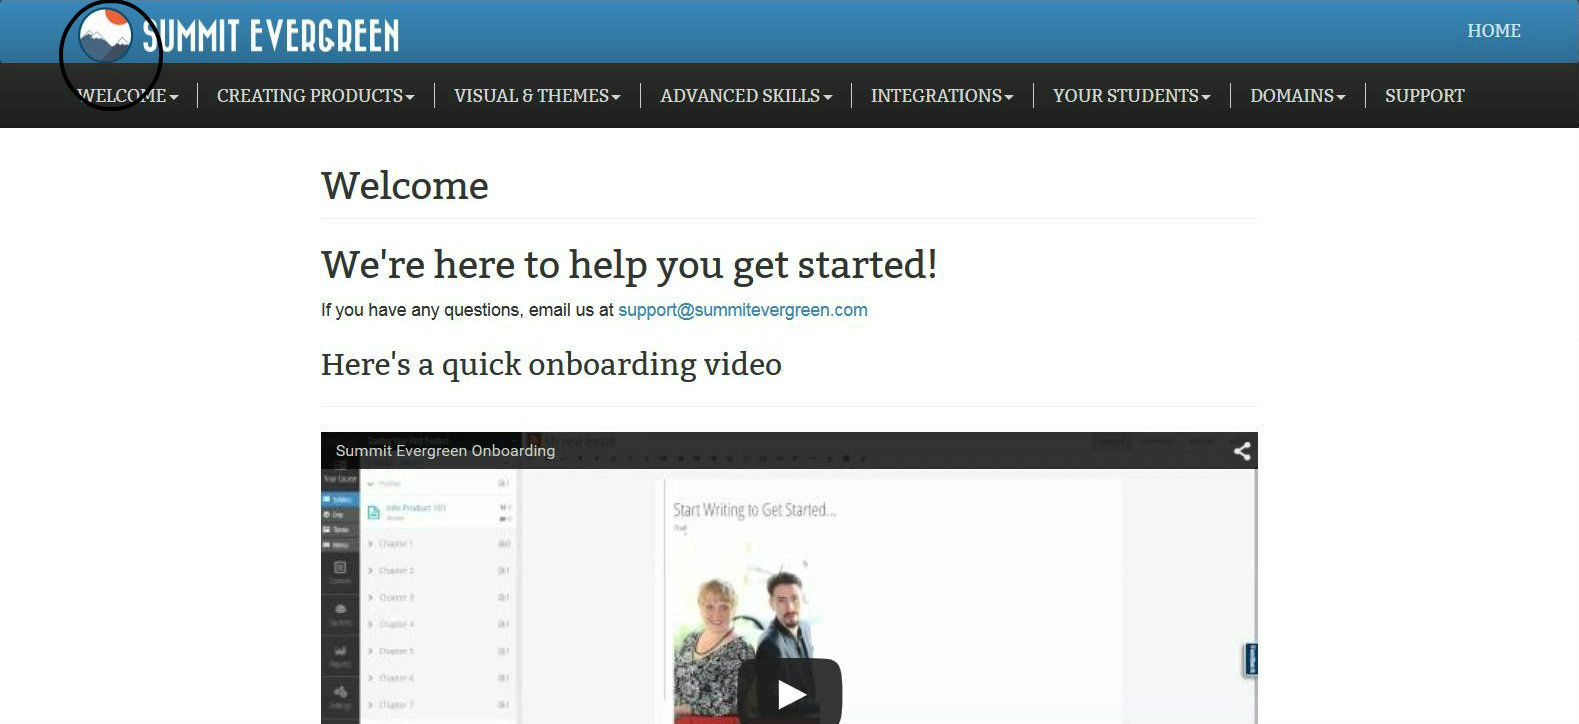
A product cover is a square logo that appears on your product selection pages and your login screen. Here’s an example:
To set up a product cover, do the following:
- In the dropdown menu in the upper left corner, select “Manage Products”
- In the right hand pane, you will see product information and a menu in the upper right corner – in this menu, select “Settings”
- This will bring up a page where you can adjust various settings for your product – in this page, scroll down to “Product Image”
- To set up a product cover, click on the “Product Image” box and you will be able to upload your image
- When setting up a product cover, the best size to use for optimal results is 400px X 400px
- On your login screen, as a default, the product cover appears as a faded image. To change this, simply add the following CSS code to the Header Scripts section of your Theme settings:
body.users.login .text-center { opacity: 1 !important; }
Favicons
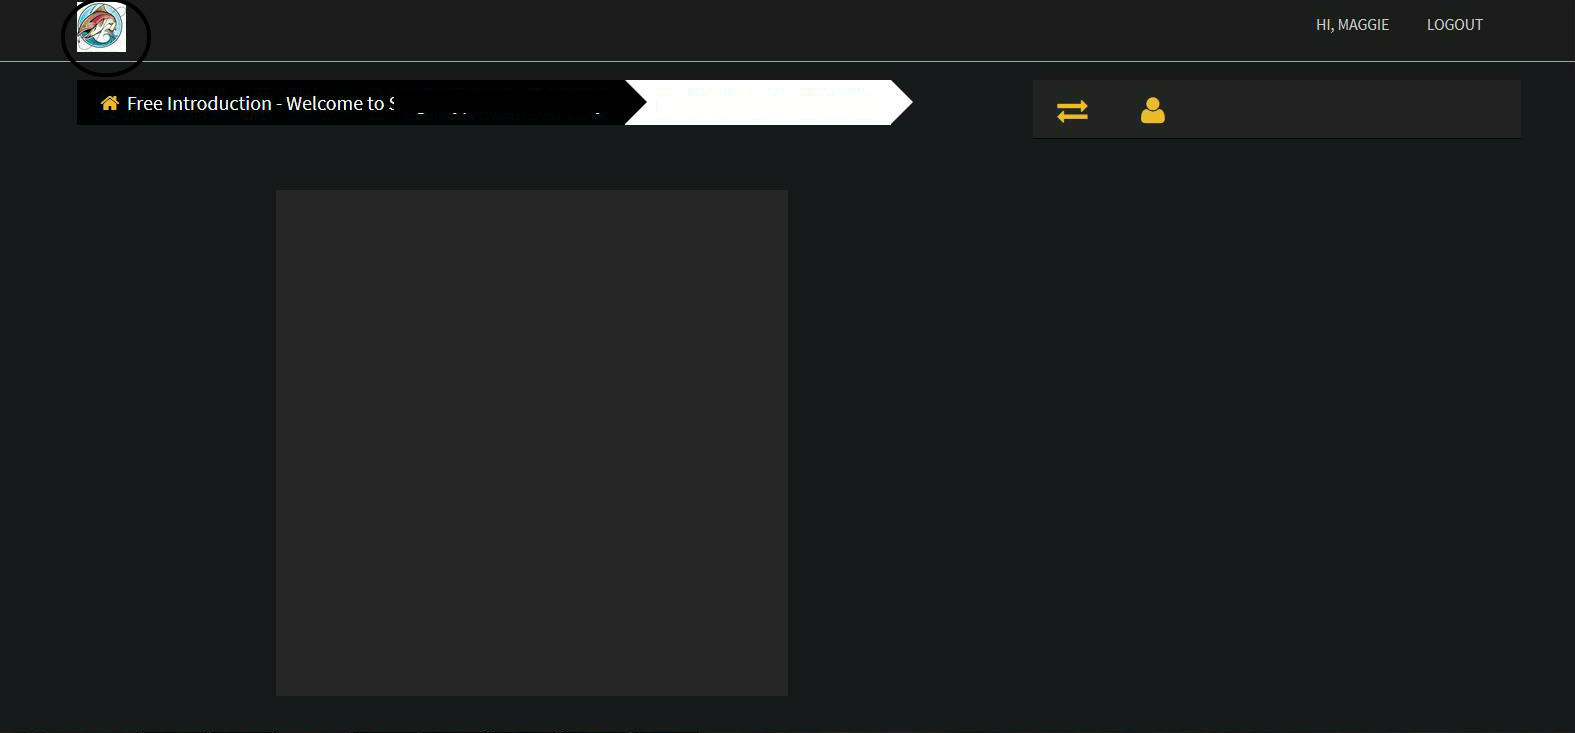
A favicon is a browser icon that is associated with a URL. Here’s an example:
To set up a favicon, do the following:
- In the left navigation menu, select “Appearance”, then “Theme”
- In the left hand pane, you will see a list of available themes, including your product’s current one – select your current theme
- In the right hand pane, you will see theme details – scroll down to “Browser Icon (Favicon)” in the “Main Settings” section
- To set up a favicon, click on the “Browser Icon (Favicon)” box and you will be able to upload your image
- When setting up a favicon, the best size to use for optimal results is 200px X 200px
Theme Headers
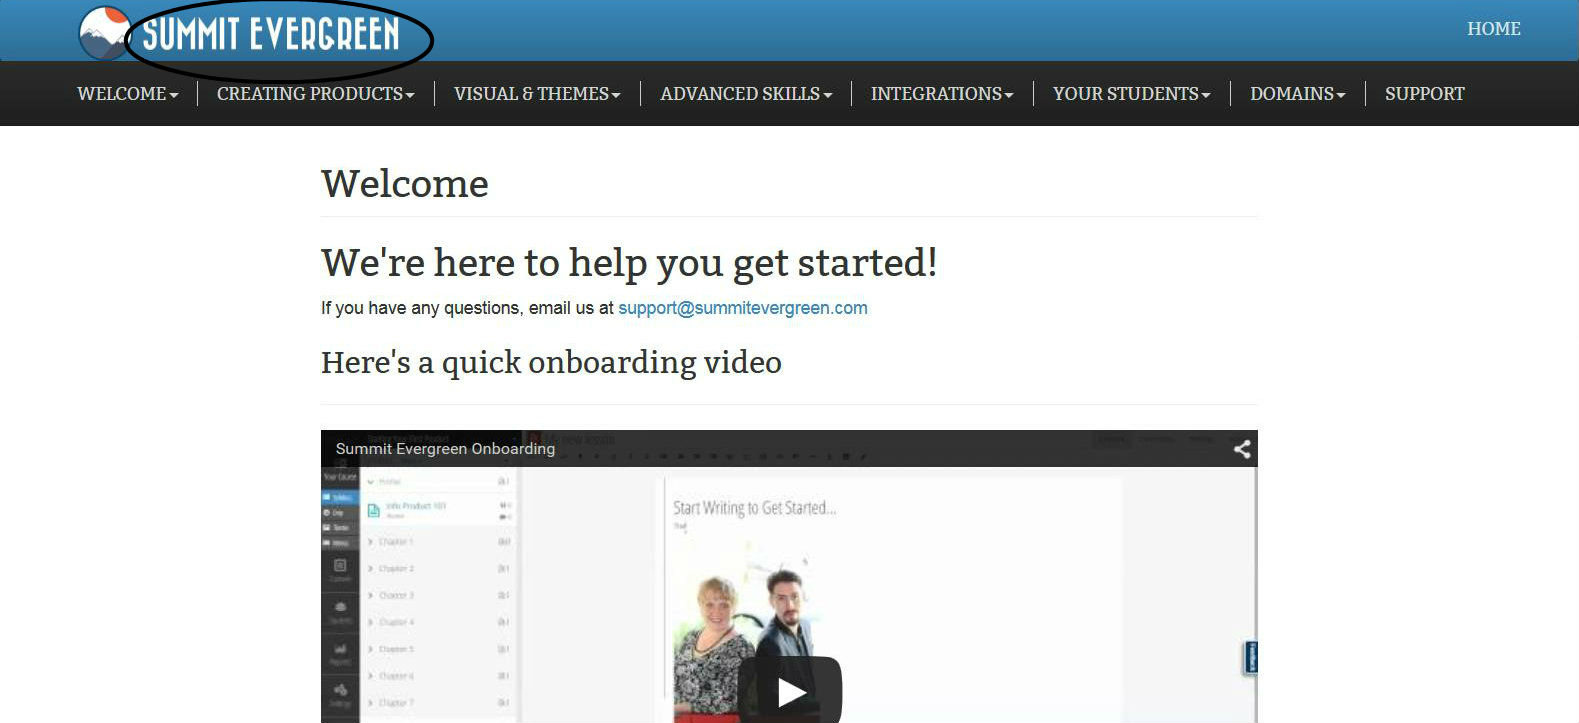
A theme header is an image / logo that appears at the top of your site. Here’s an example:
To set up a theme header, do the following:
- In the left navigation menu, select “Appearance”, then “Theme”
- In the left hand pane, you will see a list of available themes, including your product’s current one – select your current theme
- In the right hand pane, you will see theme details – scroll down to “Header Logo for the Course” in the “Main Settings” section
- To set up a theme header, click on the “Header Logo for the Course” box and you will be able to upload your image
- When setting up a theme header, the best size to use for optimal results is a maximum of 45px high X 300px wide
In addition to the theme header, certain themes allow you to also set up images for use in your header and/or footer. If you are using the Sleek, Mojavi, Primero, Sensibility, or Wiseman theme, to set up these images, do the following:
- In the left navigation menu, select “Appearance”, then “Theme”
- In the left hand pane, you will see a list of available themes, including your product’s current one – select your current theme
- In the right hand pane, you will see theme details – scroll down to “Logo Image for Use in the Header” (or “Image for Use in the Footer”, if applicable) in the “Content Blocks” section
- To set up an image, click on the “Logo Image for Use in the Header” box (or “Image for Use in the Footer”, if applicable) and you will be able to upload your image
Backdrops
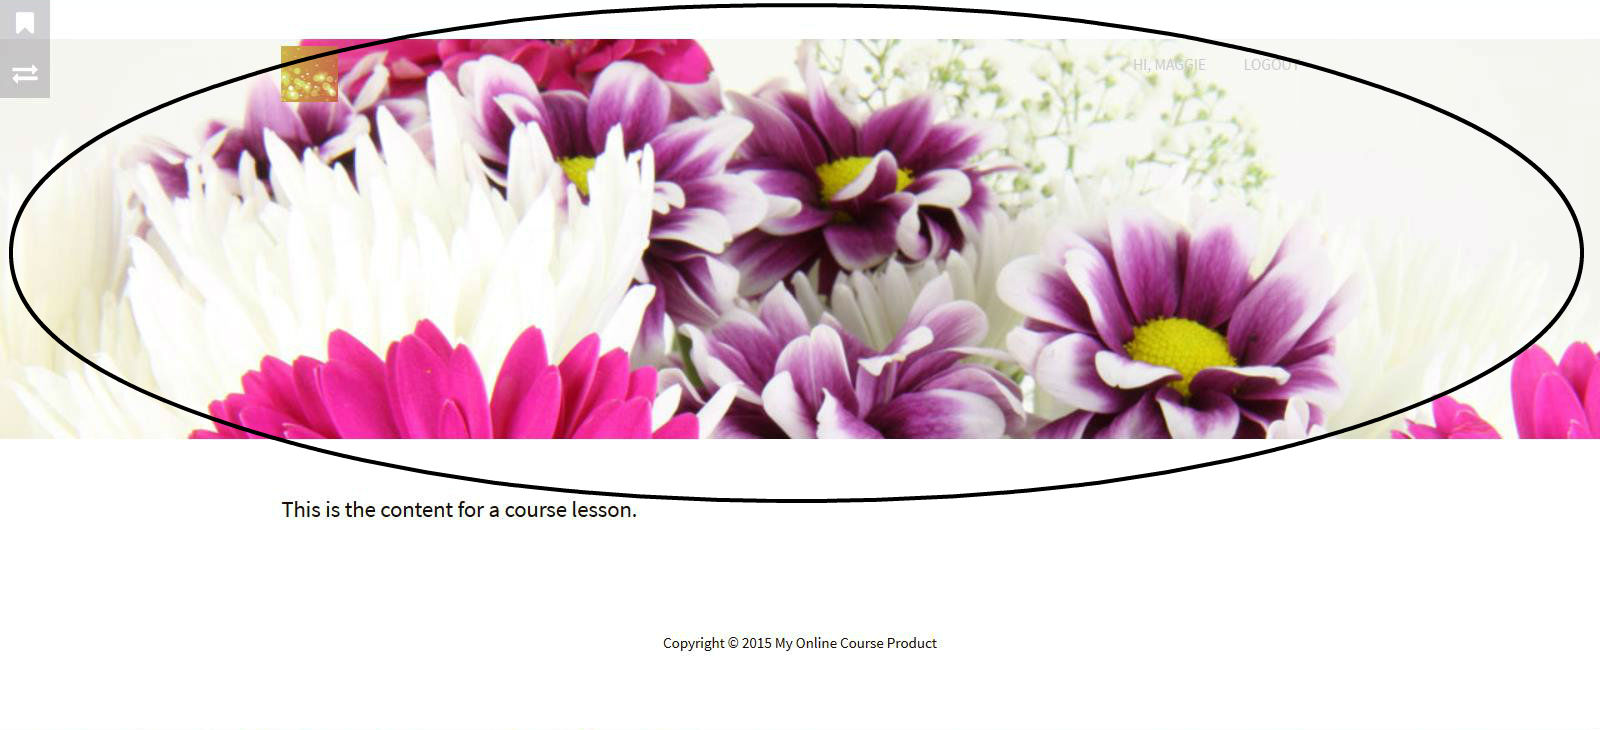
A backdrop is an image that appears at the top of a page as a background image. Here’s an example:
Backdrops are only available with the Sensibility theme. With this theme, you can set up as many as 5 backdrop images to be used throughout your site. If you are using this theme, to set up a backdrop, do the following:
- First, you will need to upload the image(s) you want to use into Summit Evergreen – to do so, do the following:
- In the left navigation menu, select “Content”, then “Media”
- In the left hand pane, at the top, click on the dropdown box to the right of the phrase “File Uploads” and select “Add a New File”
- This will bring up a box that will allow you to upload your image
- In the left navigation menu, select “Appearance”, then “Theme”
- In the left hand pane, you will see a list of available themes, including your product’s current one – select your current theme
- In the right hand pane, you will see theme details – scroll down to “Chapterbg image1” in the “Branding & Visuals” section
- To set up a backdrop, click on the dropdown box for “Chapterbg image1” and select the image you’d like
- When setting up a backdrop, the best size to use for optimal results is 1600px X 468px
- To set up more backdrops, repeat the process using “Chapterbg image2”, “Chapterbg image 3”, etc.
- Once you have set up your backdrop, to use it in a page, do the following:
- In the left navigation menu, select “Content”, then “Pages”
- In the left hand pane you will see a list of the existing pages for your product – select the one you’d like to use a backdrop in
- In the right hand pane, you will then see the content for your page and a menu in the upper right corner – in this menu, select “Settings”
- This will bring up various settings for your page – scroll down to “Page Style” in the “Layout & Design” section
- To use a backdrop in your page, click on the dropdown box for “Page Style” and select the chapter header image you’d like
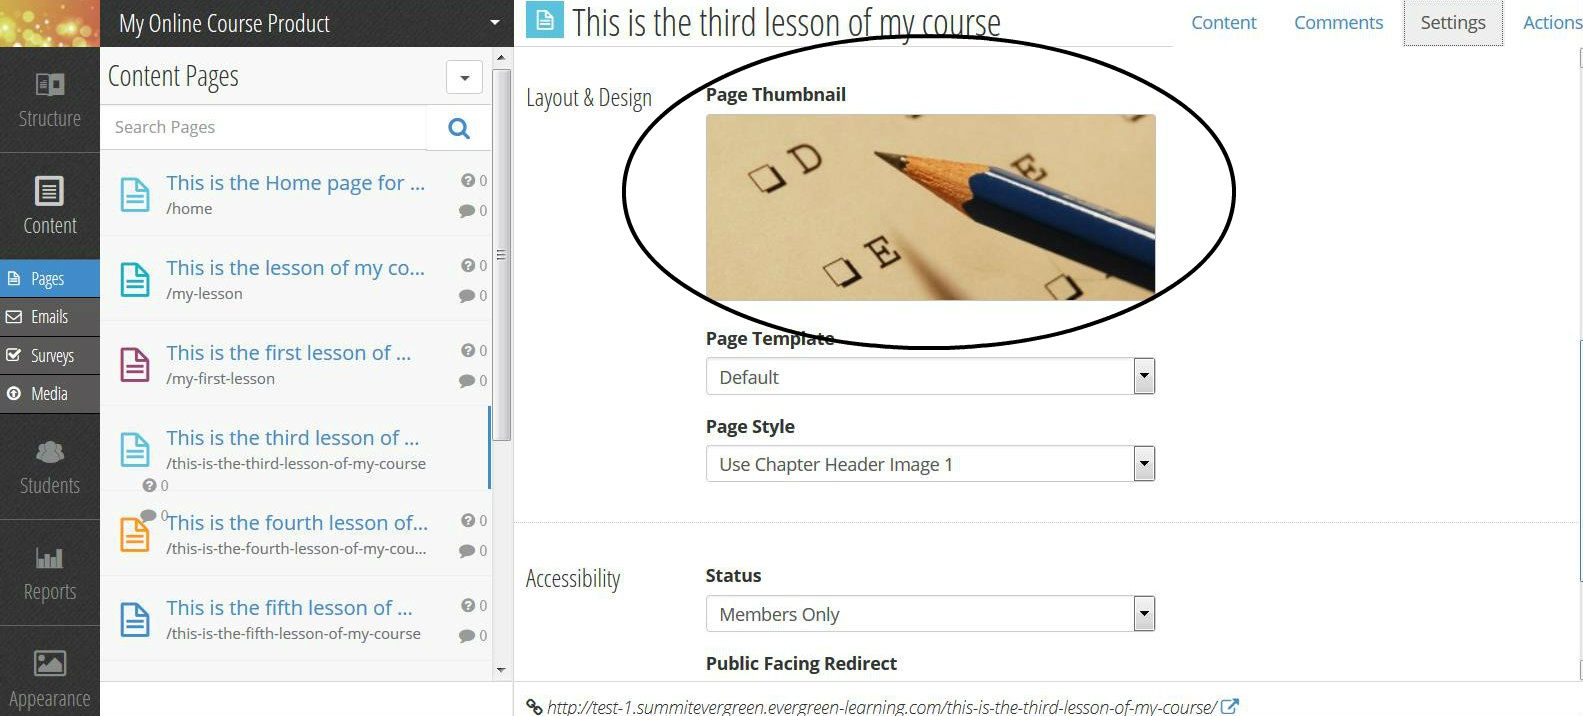
Page Thumbnails
A thumbnail is just a miniature version of an image. Here’s an example:
To set up a thumbnail in a page, do the following:
- In the left navigation menu, select “Content”, then “Pages”
- In the left hand pane you will see a list of the existing pages for your product – select the one you’d like to use a thumbnail in
- In the right hand pane, you will then see the content for your page and a menu in the upper right corner – in this menu, select “Settings”
- This will bring up various settings for your page – scroll down to “Page Thumbnail” in the “Layout & Design” section
- To use a thumbnail in your page, click on the “Page Thumbnail” box and you will be able to upload your image
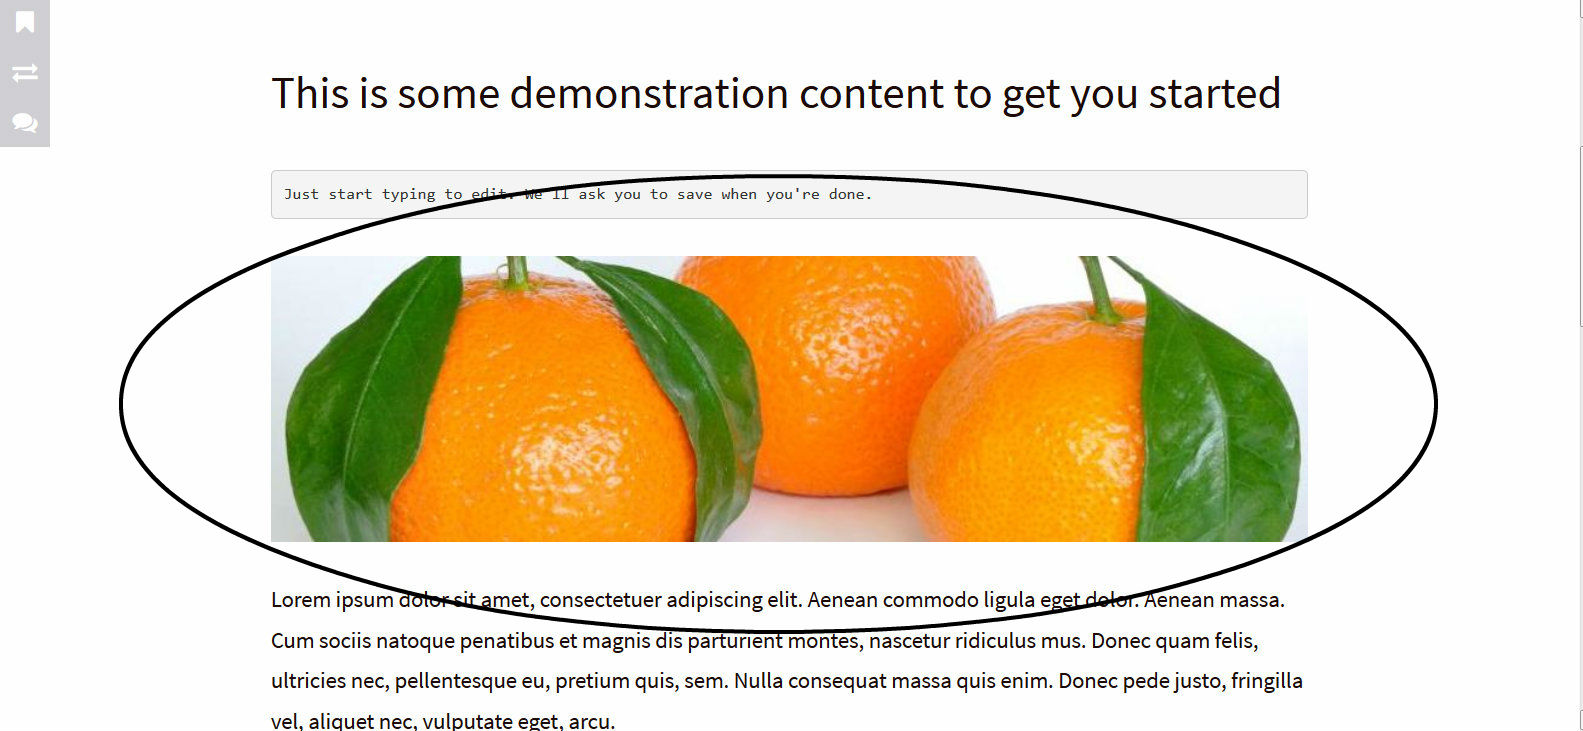
Miscellaneous Content Images
Oftentimes, as part of the content of your pages (and sometimes even emails), you will want to include an image. Here’s an example:
To add an image to a page of content, do the following:
- In the left navigation menu, select “Content”, then “Pages”
- In the left hand pane you will see a list of the existing pages for your product – select the one you’d like to add an image to
- In the right hand pane, you will then see the content for your page – scroll down to the place you’d like to add your image
- To insert image, in the editing toolbar at the top of the page select the “Insert Image” button (
 )
) - Upload your image, and then it will appear in your content