In the “Students” section of Summit Evergreen you can access student profiles, view login information, product access information, and customer comments, and perform student-related actions (i.e., manually adding/removing access to a course, sending emails, etc.).
Accessing the Students Menu
- In the left navigation menu, select “Students”, then “Users”
- This will bring up a list of your students in the left pane
- You have the option to click on the name of the student you’d like to access by searching through the names, or you can search for a student by their name or email address
- Once you’ve located the correct student, click on their name in the left pane and more information and a menu will appear in the right pane
Students Menu: Details Tab
From the “Details” tab you can:
- Update the student’s name and email
- Update the timezone for a particular student
- Manually change a student’s password
- View/add private notes about a particular student

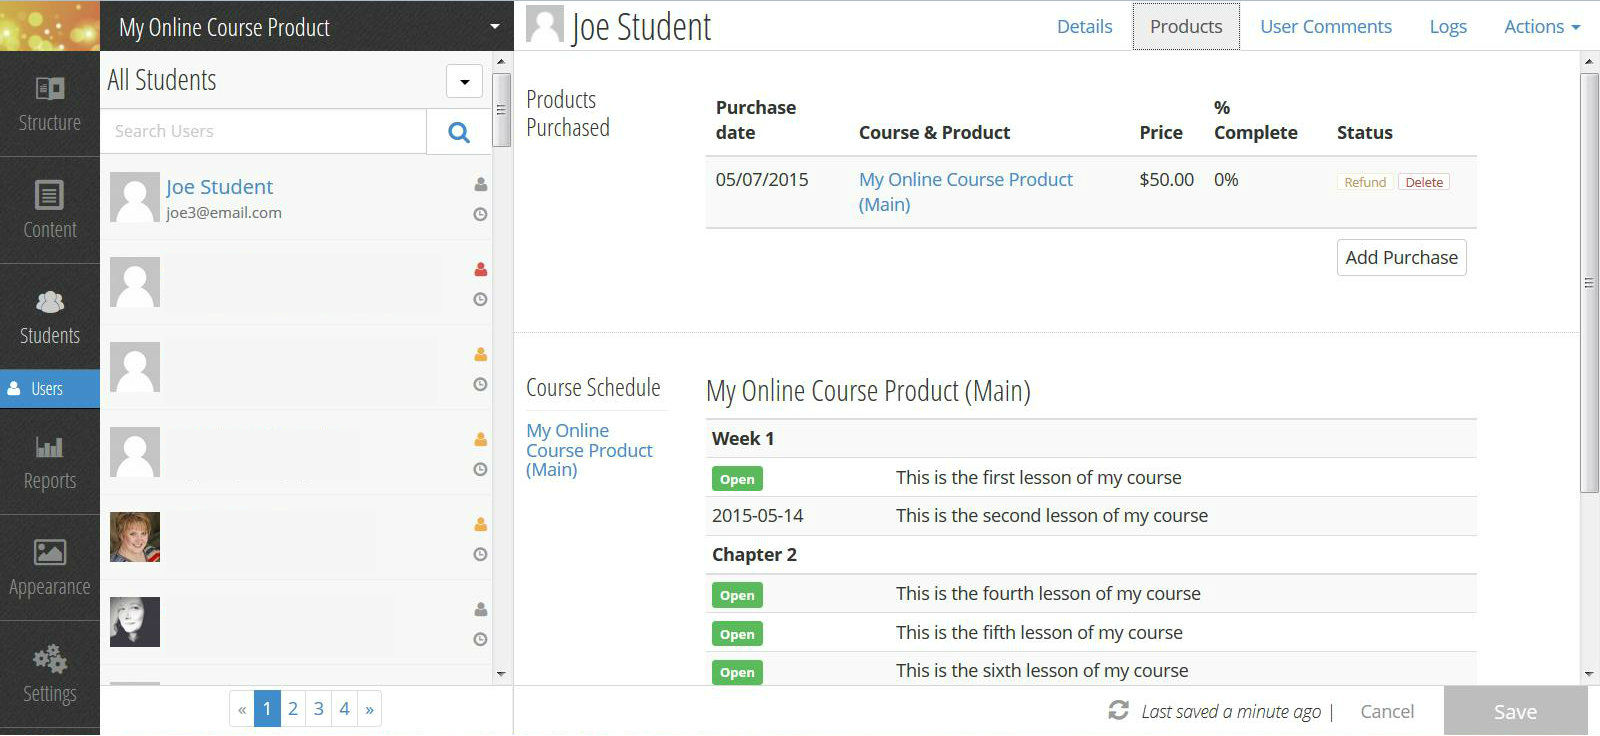
Students Menu: Products Tab
From the “Products” tab you can:
- View courses the students have purchased
- Manually add/remove courses for a student
- Mark a course as refunded
Students Menu: User Comments Tab
From the “User Comments” tab you can:
- View any user comments the student has made

Students Menu: Logs Tab
From the “Logs” tab you can:
- View a log that shows the student’s user activities

Student Menu: Actions Drop Down Menu
From the “Actions” Drop Down menu, you can:
- Re-send emails to the student (please note that when sending emails to students, the emails are not sent immediately, but rather are batched and sent every 15 minutes)
- Login as the student
- Delete the student profile
Adding a New Student
- In the left navigation menu, select “Students”, then “Users”
- In the left pane, select “Add a User” from the action dropdown box in the upper right corner
- This will bring up a box that allows you to add the new student’s basic information, including their role (member or manager)
- Hit “Save” and that’s it!
