Based on your student registration, you can send each student a welcome email as they sign up for your course. If you prefer a different method of sending a welcome communication, you can also disable Summit Evergreen’s welcome email for your course. To set up a welcome email, do the following:
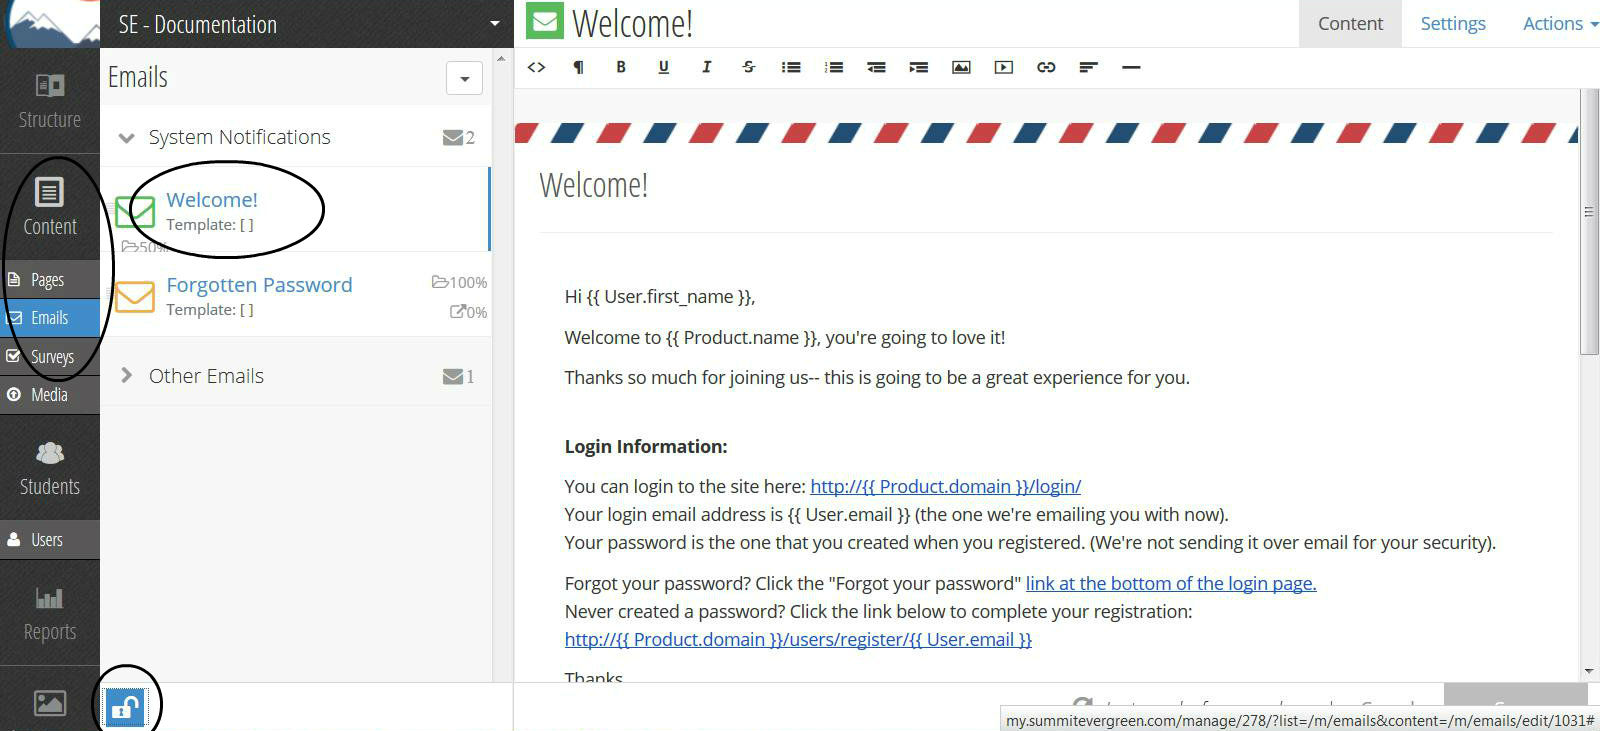
- In the left navigation menu, select “Content”, then “Emails”
- In the left pane, you will see the email templates that are currently available for your course
- In the lower left corner, you will see a lock icon – click on it to unlock editing capability
- Select “Welcome Email”
- In the right pane you will see a template of content and a menu in the upper right corner
- To customize the template for your course, simply edit the content to meet your needs and then hit “Save” in the lower right corner
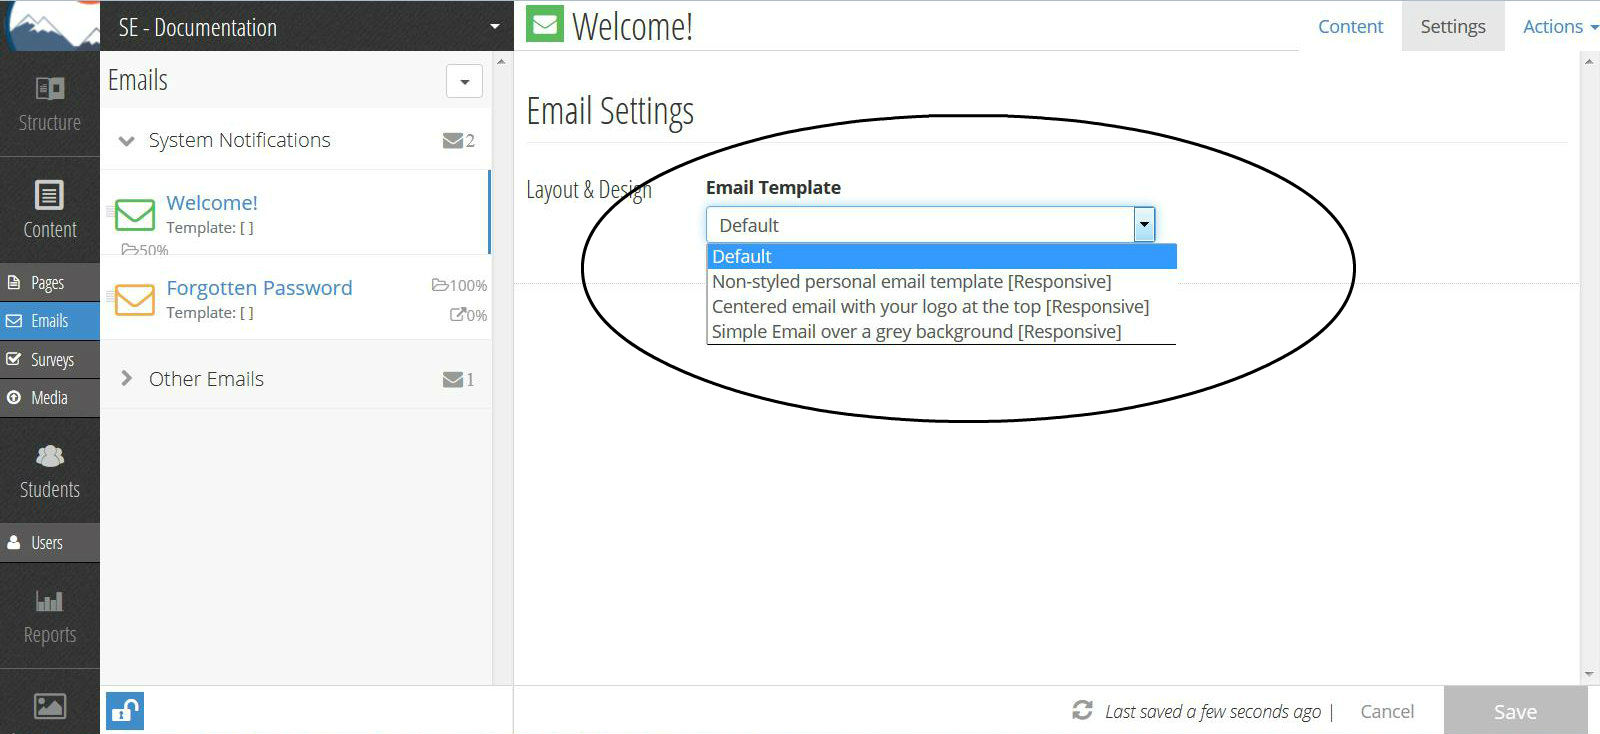
- To change the layout and design of your welcome email, in the upper right corner menu, select “Settings”
- This will bring up a page that allows you to choose different email styles – select one and then hit “Save” in the lower right corner
- When you are completely done with customization, click on the lock icon in the lower left corner again – this will save all changes and re-lock editing capability
To send a test email of your welcome email, or to disable the welcome email, do the following:
- In the left navigation menu, select “Content”, then “Emails”
- In the left pane, you will see the email templates that are currently available for your course
- In the lower left corner, you will see a lock icon – click on it to unlock editing capability
- Select “Welcome Email”
- In the right pane you will see the email content and a menu in the upper right corner
- In the upper right corner menu, select “Actions”
- This will bring up a dropdown menu – for testing, select “Send a Test Email” – this will send a test email to you
- In the dropdown menu – for disabling, select “Disable this email” (note: after disabling, to reinstate an email, you can go to the “Actions” dropdown menu and select “Re-enable this email”)
- Click on the lock icon in the lower left corner again – this will save all changes and re-lock editing capability
