In Summit Evergreen, to communicate with your students, you can send them standard emails that provide pertinent product / course information. Occasionally, however, you may need to send a student an individual personalized or customized email. Here’s how to do it:
First, you will need to create the email you want to send. To do so, do the following:
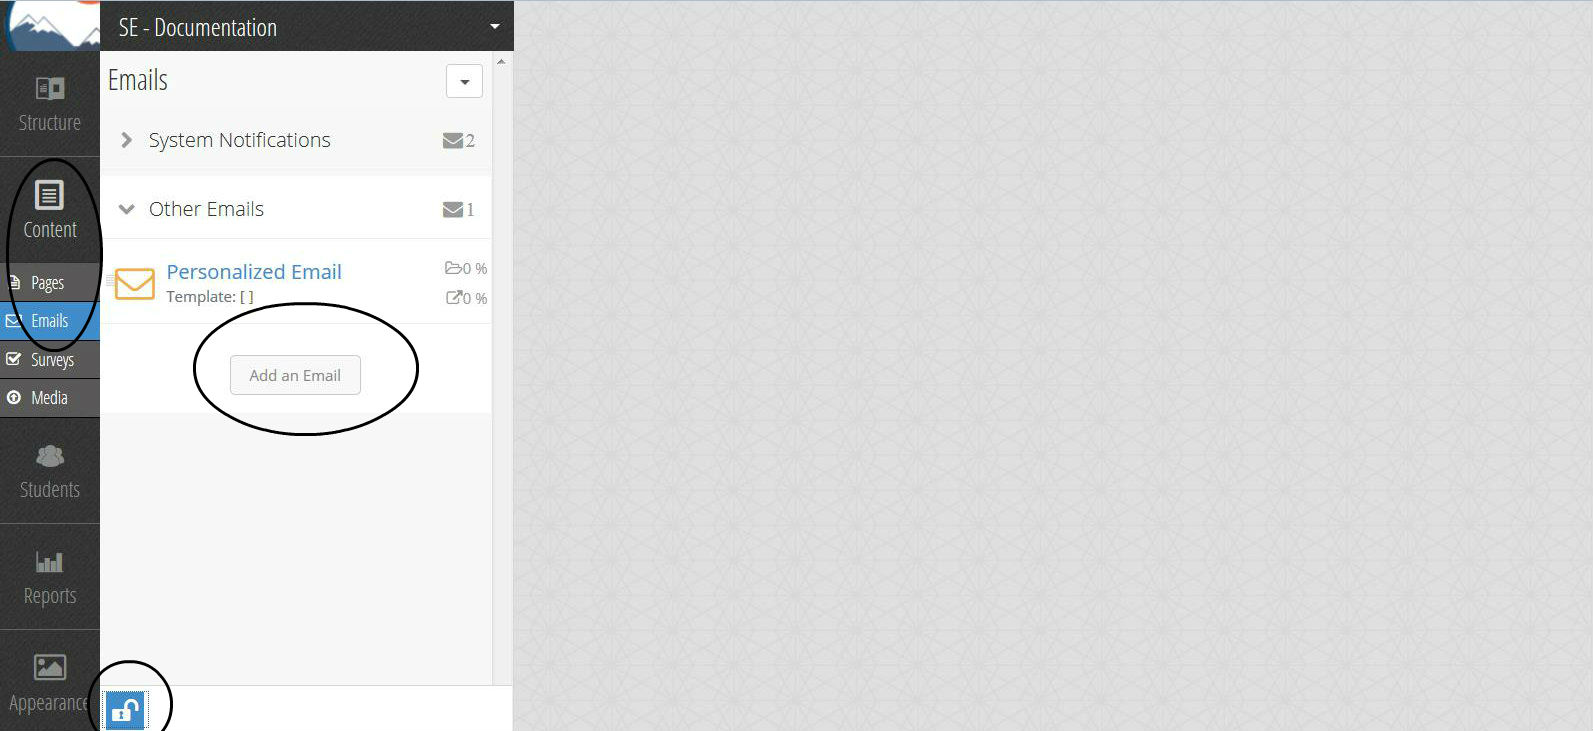
- In the left navigation menu, select “Content”, then “Emails”
- In the left pane, you will see the email templates that are currently available for your course
- In the lower left corner, you will see a lock icon – click on it to unlock editing capability
- To create a new email, in this pane, hit the “Add an Email” button
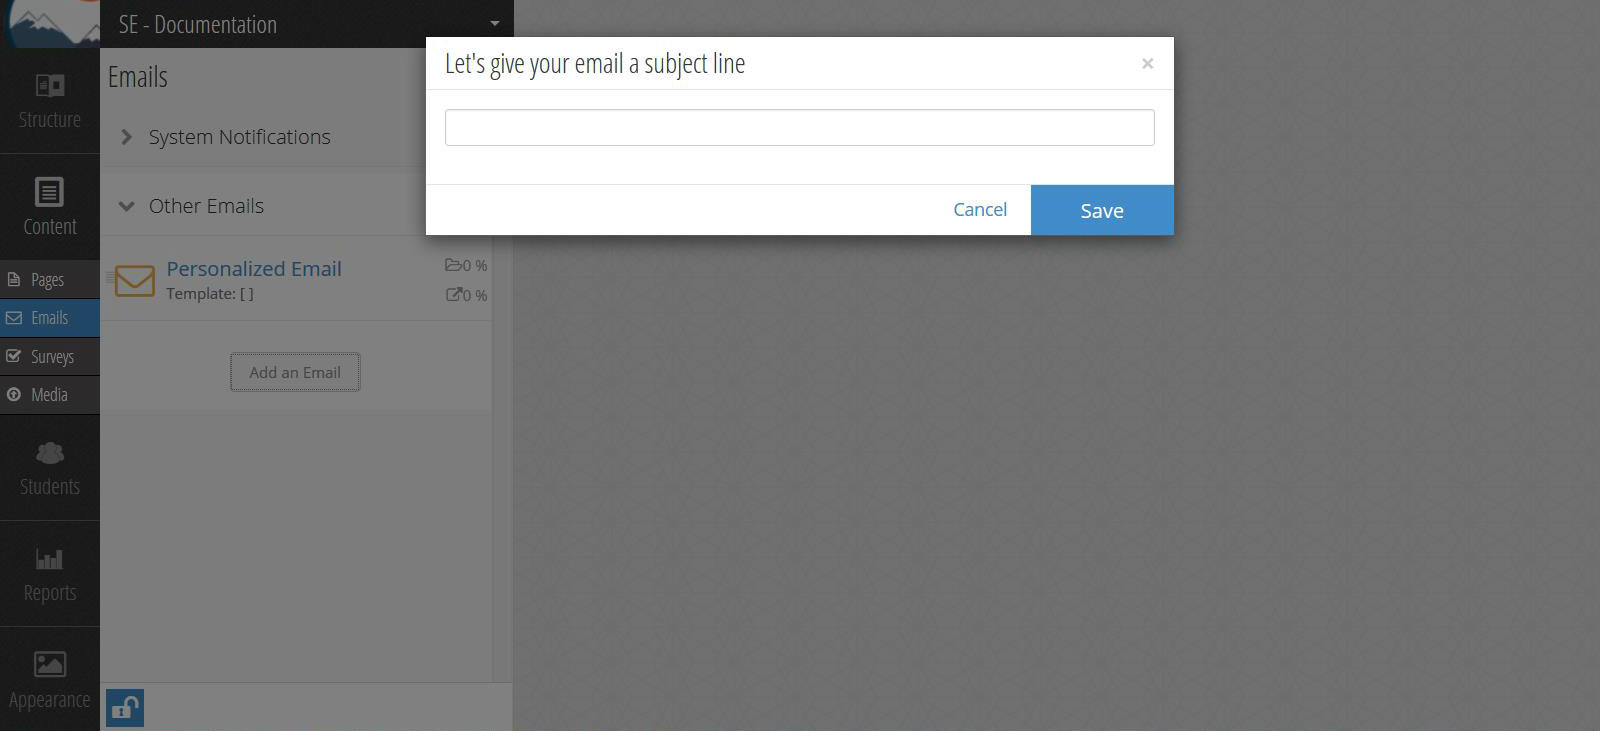
- This will bring up a box that lets you put in the subject line for your new email and then, when you hit “Save”, creates a template
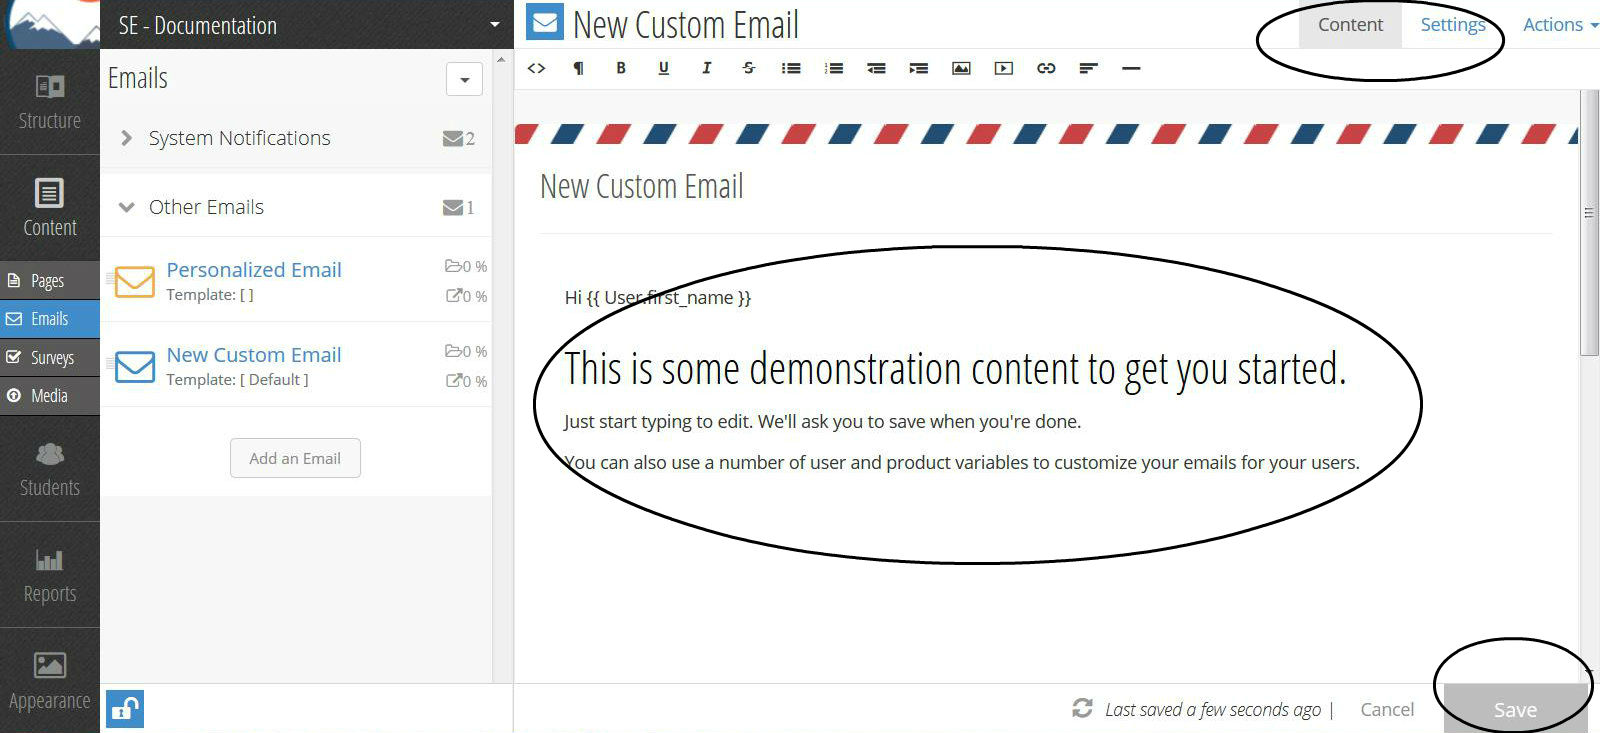
- In the right pane you will see the basic template of content and a menu in the upper right corner
- To customize / personalize the email for your student, simply edit the content to meet your needs and then hit “Save” in the lower right corner
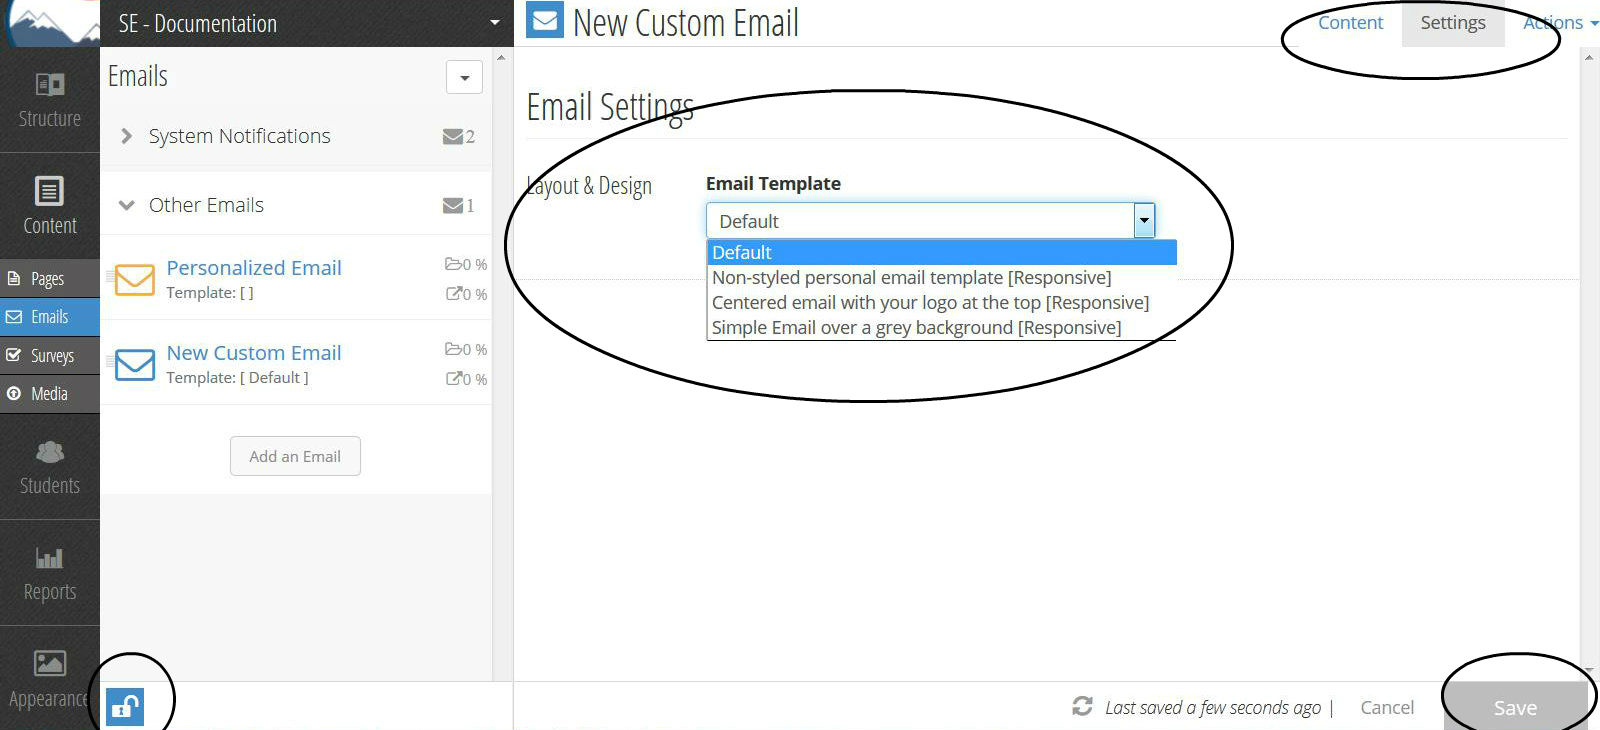
- To change the layout and design of your email, in the upper right corner menu, select “Settings”
- This will bring up a page that allows you to choose different email styles – select one and then hit “Save” in the lower right corner
- When you are completely done with customization / personalization, click on the lock icon in the lower left corner again – this will save all changes and re-lock editing capability
Next, access the information that is set up for the student to whom you want to send the email. To get to this information, do the following:
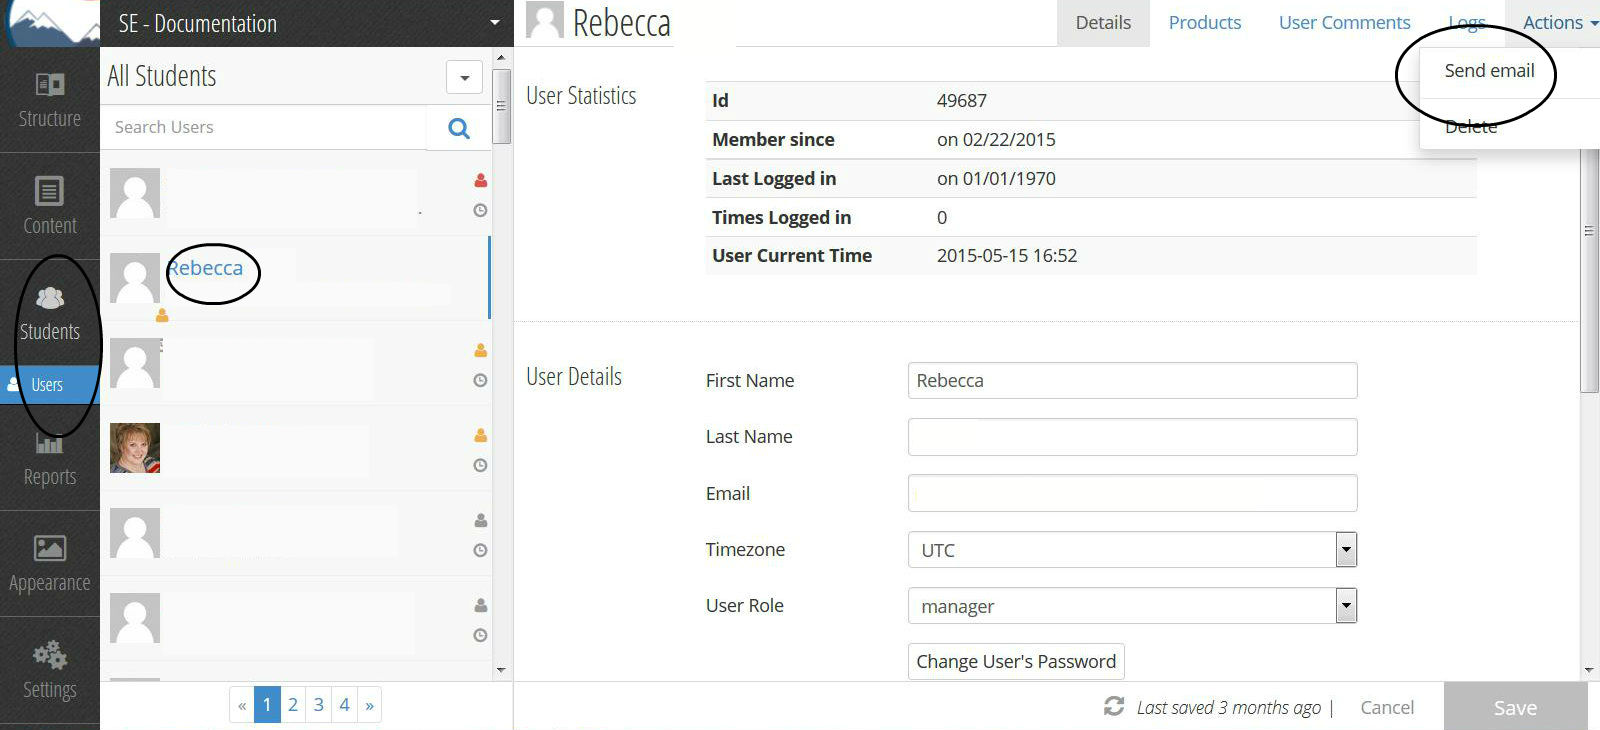
- In the left navigation menu, select “Students”, then “Users”
- In the left pane, you will see a list of student names – select the student to whom you want to send an email (to do so, you can scroll through the student list or search for the student’s name or email address)
- In the right pane you will see that student’s information and a menu in the upper right corner
- In the upper right corner menu, select “Actions”
- This will bring up a dropdown menu – in this menu, select “Send email”
- This will bring up a box in which you can specify an email and then send it to your student
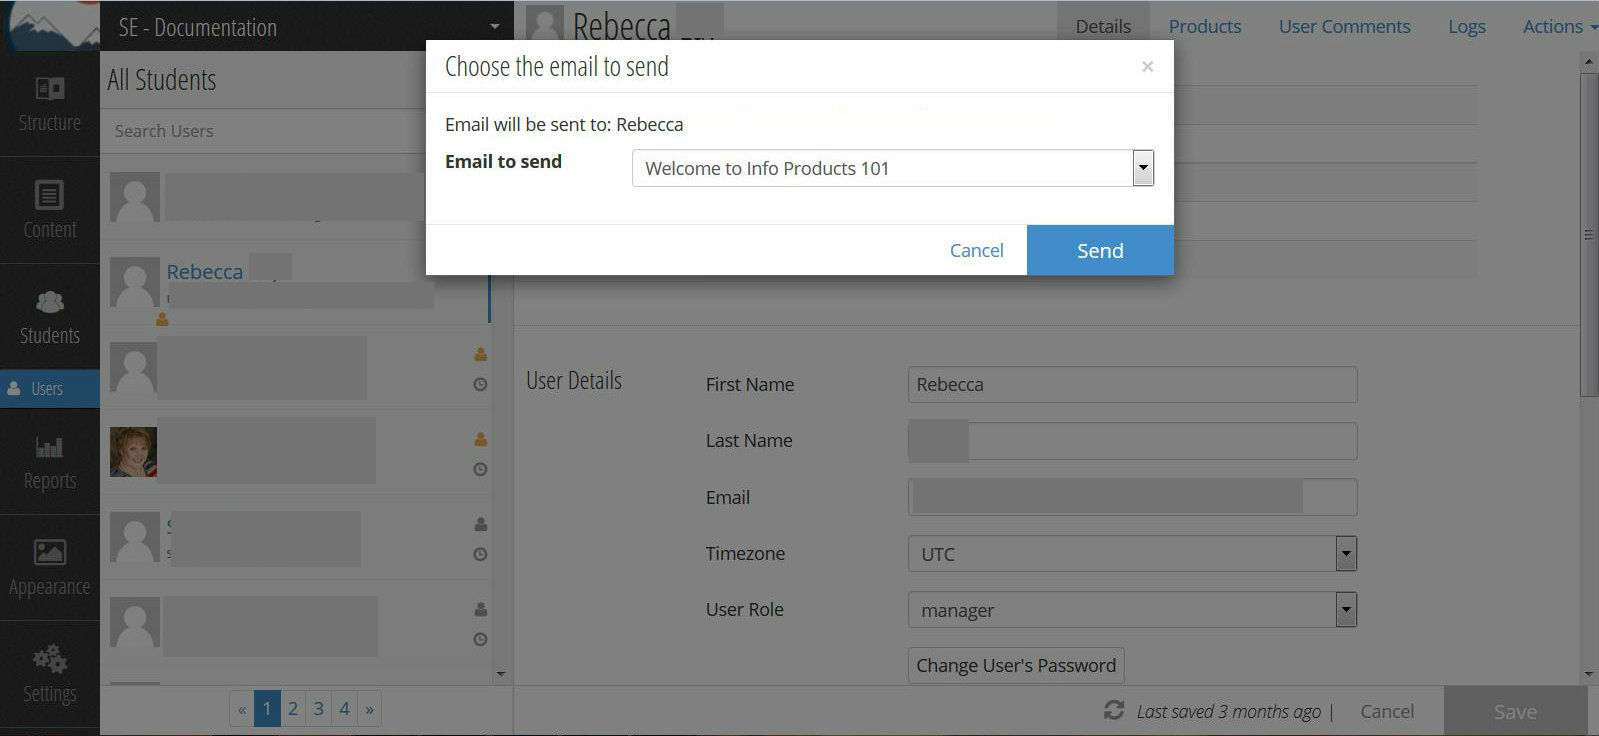
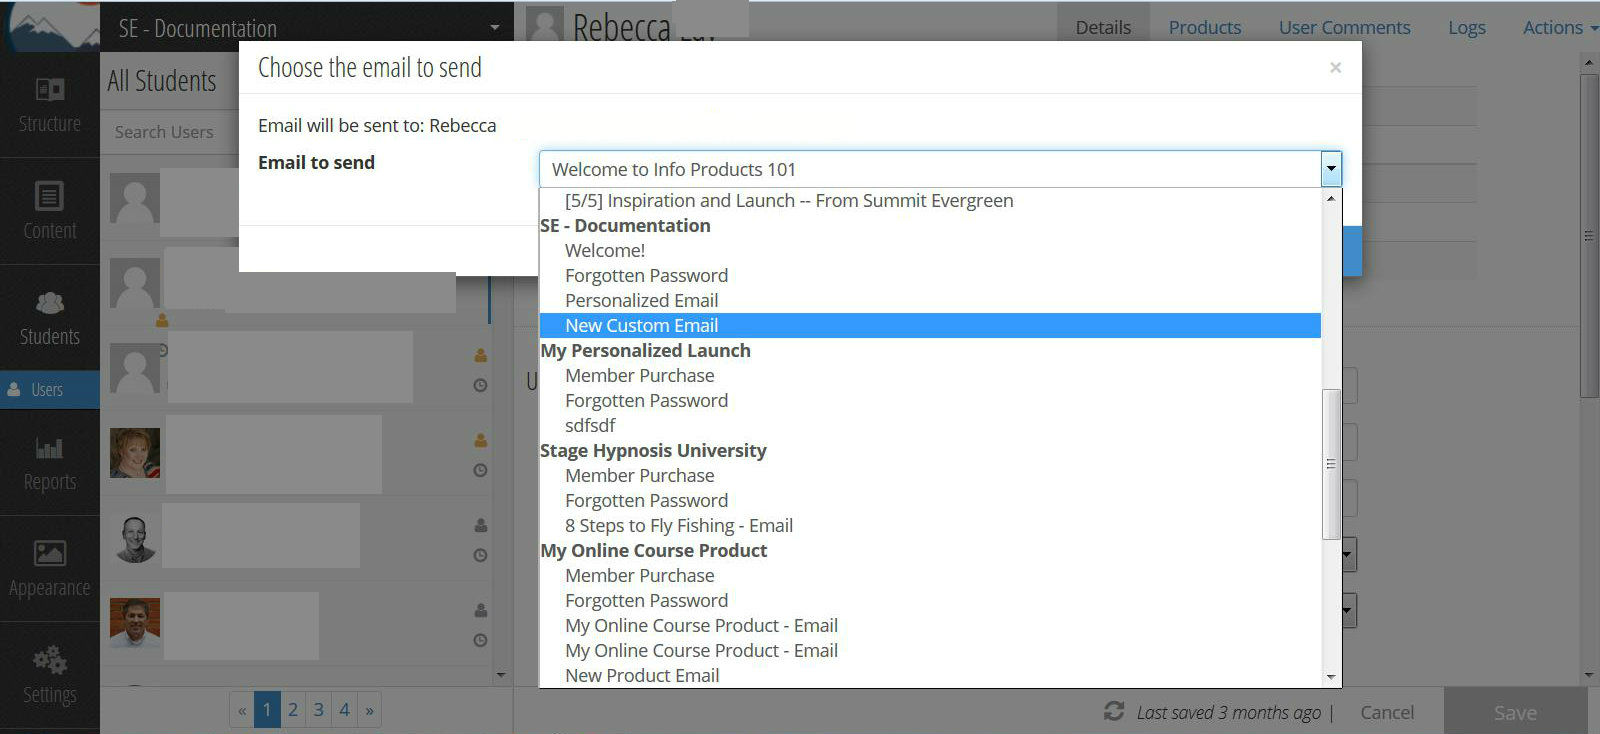
- Find the email you just created by clicking the “Email to send” dropdown box that contains a list of the various emails available (which should include the customized / personalized email you just created)
- Hit “Send”, and your new personalized / customized email will be sent to your student
- Note: When sending emails to students, the emails are not sent immediately, but rather are batched and sent every 15 minutes