When sending emails to your students, you can schedule them to go out as new content becomes available or any time you want to send information to your customers. To send emails based on a drip (schedule), do the following:
- In the left navigation menu, select “Structure”, then “Drip”
- In the left pane, you will see the the drip (schedule) that applies to your course
- To schedule an email, select the day in the drip on which you want to send the email
- In the lower left corner, you will see a lock icon – click on it to unlock editing capability
- This will bring up a box below the day that allows you to attach existing or new lessons / emails
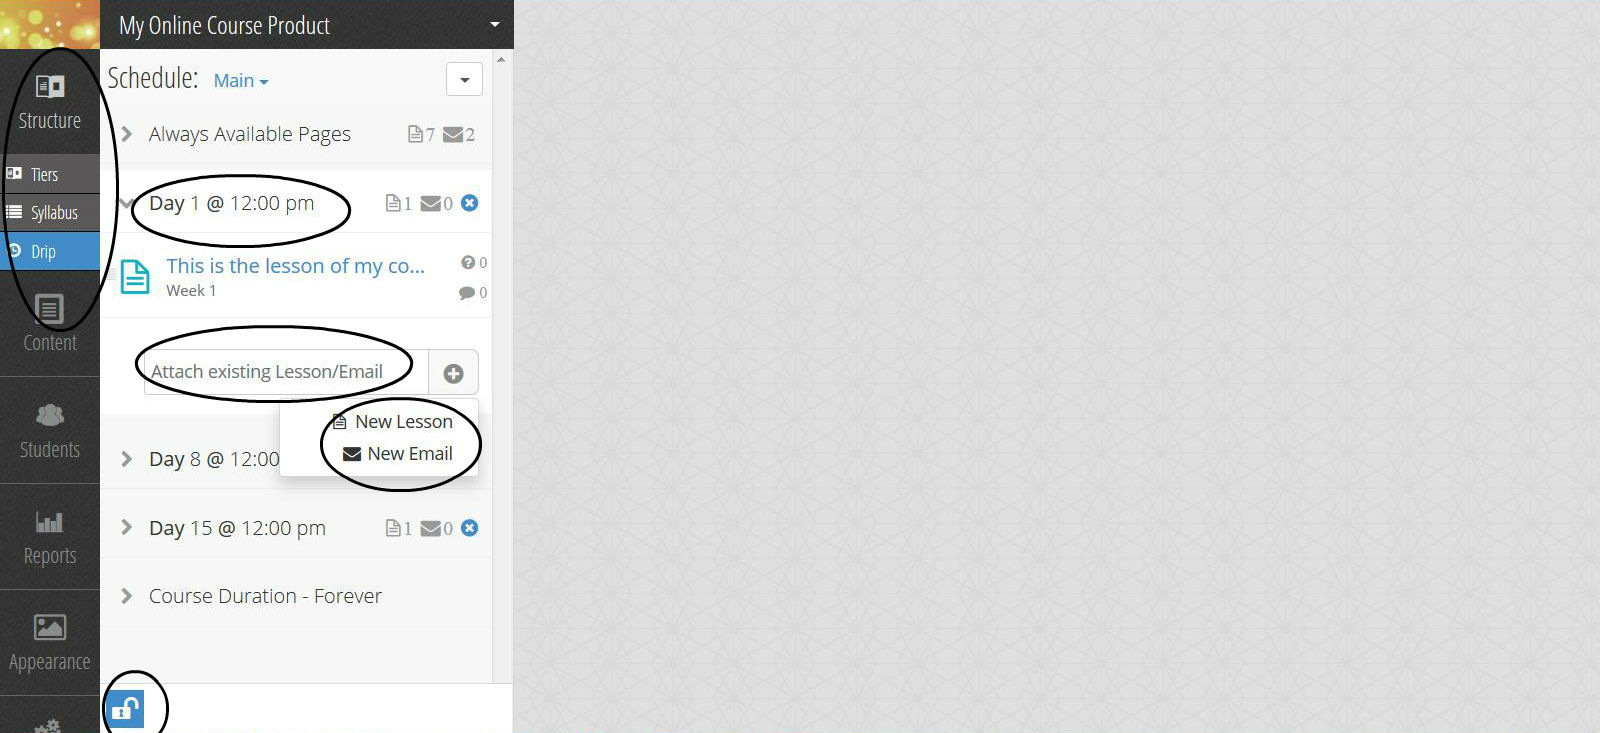
- If you’re scheduling an email that you have already created, select “Attach Existing Lesson/Email”
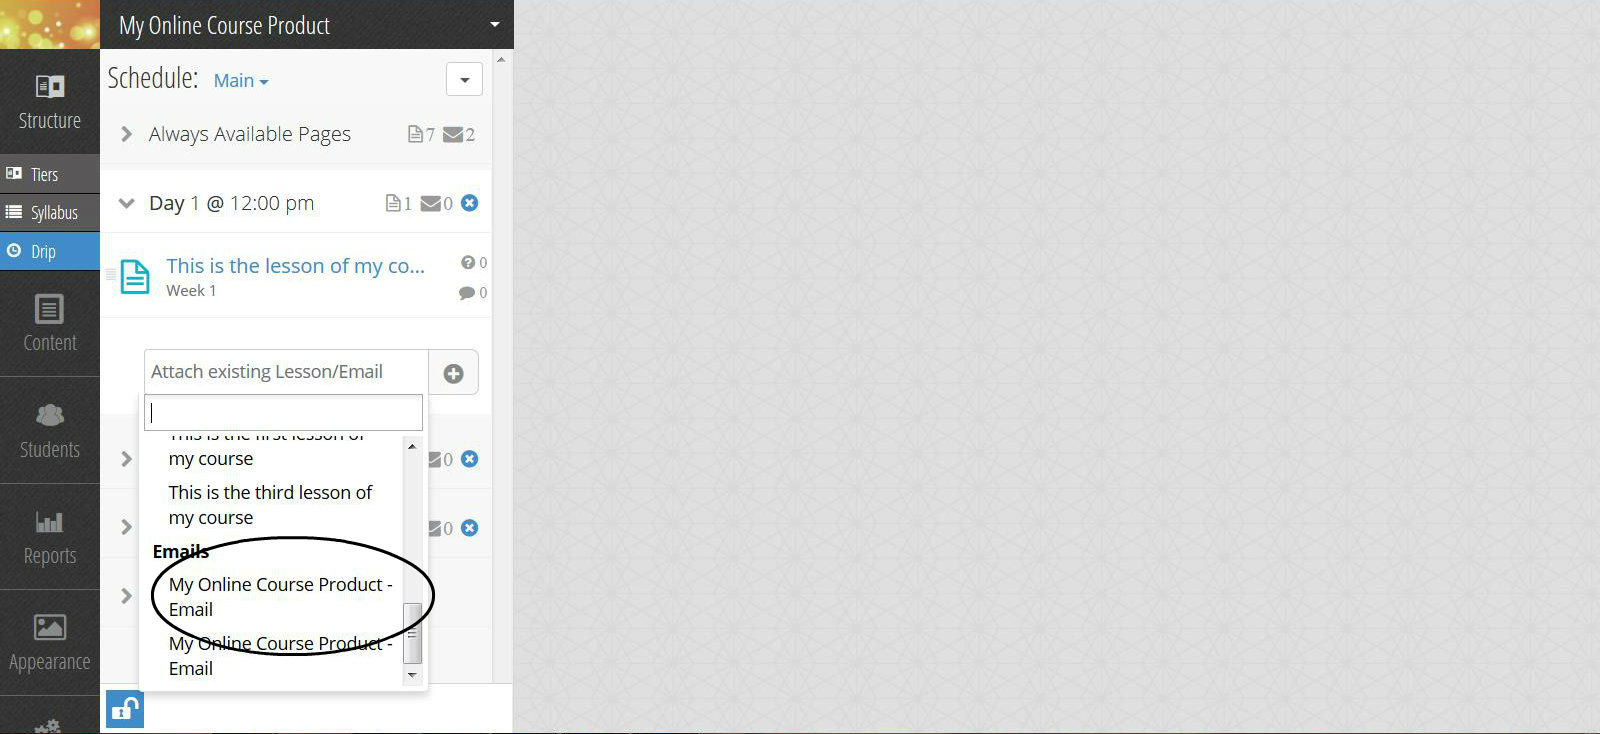
- This will bring up a dropdown box containing your existing lessons and emails
- Select the email you’d like to use, and it will get added to the content scheduled in the drip for that day
- If you’re scheduling a new email that you have not yet created, select the “New Email” button (note: this button is only available for scheduled content, not content in the “Always Available” section)
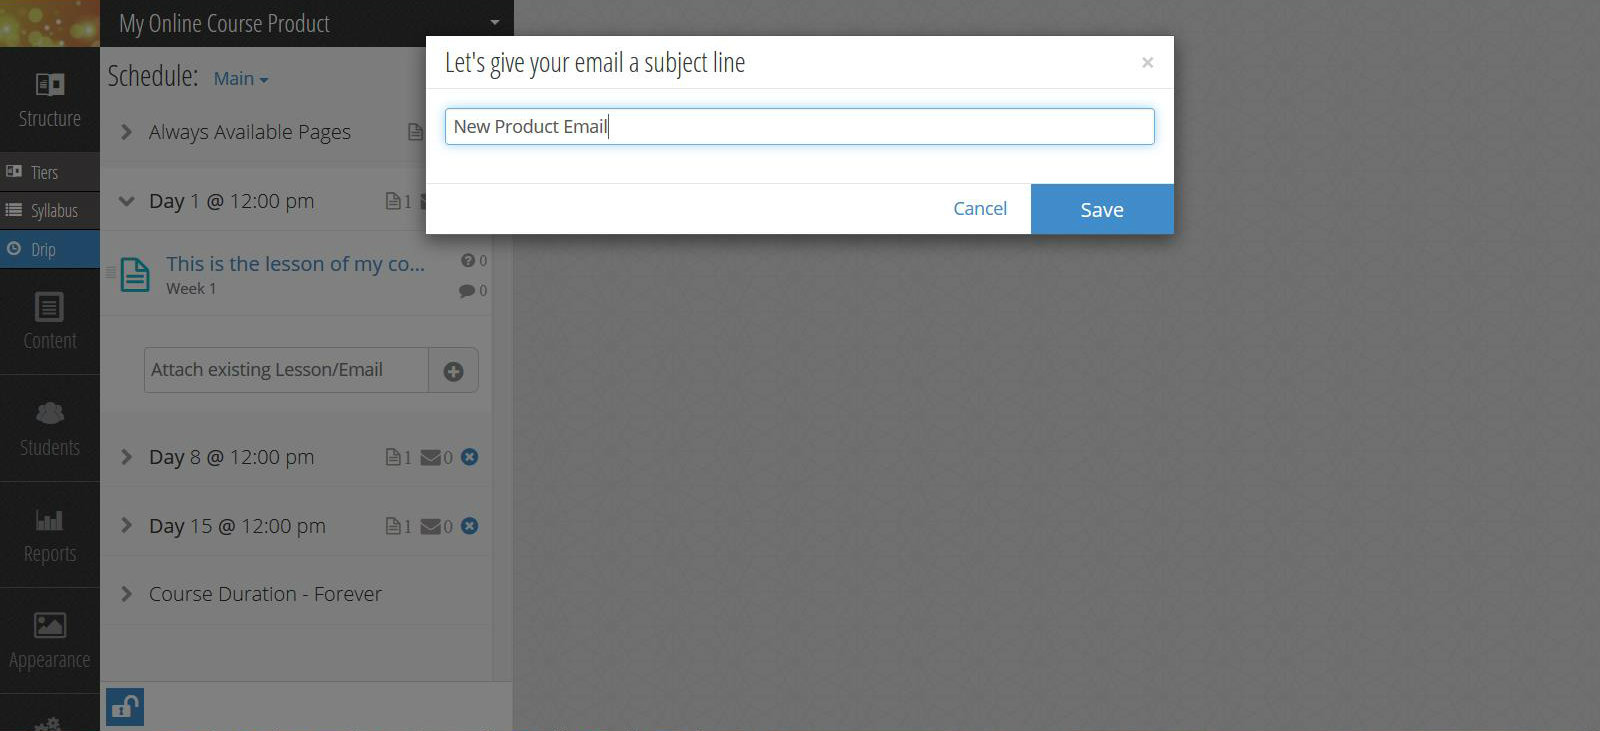
- This will bring up a box that will allow you to create a new email – enter the email subject line you’d like to use and then hit “Create Email”
- Your new email will get added to the content scheduled in the drip for that day, and then you can click on it to create the email’s content using the content editor
- After you have finished your email scheduling, click on the lock icon in the lower left corner again – this will save all changes and re-lock editing capability

- If you want to schedule an email on a day that is not already on the schedule, do the following:
- In the left navigation menu, select “Structure”, then “Drip”
- In the left pane, you will see the the drip (schedule) that applies to your course
- In the lower left corner of the left pane, click the lock icon to unlock editing capability
- In the top right corner of the left pane, click the action drop down menu (the white box to the far right of the word “Schedule”) and select “Add a New Interval”
- This will bring up a box that will allow you to set the new interval – select the day and time you’d like
- Below this interval, you will also see the box that allows you to attach existing or new lessons / emails
- Follow the instructions above, for sending emails based on a drip (schedule), to schedule your email for this interval

