If you are using the Sleek, Sensibility, or Primero theme for your product, one of the options you have is to utilize a custom menu. A custom menu replaces Summit Evergreen’s standard default menu. The default menu consists of the chapter names you have put into your syllabus, in the order they are listed. If any of the chapter names are long, they will appear that way in the standard menu, which can make your menu’s appearance less than ideal.
A custom menu allows you to make your menu look and feel exactly how you want it to.
Creating a Custom Menu
- In the left navigation menu, select “Appearance”, then “Menus”
- In the left pane, you’ll see a list of any menus that have already been created
- To create a new menu, go to the actions dropdown box in the top of the left pane and select “Add a Menu”

- This will bring up a “Create Your New Menu” box. Here, type in the name you’d like to give your new menu and hit “Save”

- In the right pane, you will see a “Details” screen that provides components you can use to build your new menu
- The components it includes are “Add Page”,”Add Survey”, and “Add a Custom Link”…..to create your new menu, simply drag and drop the components
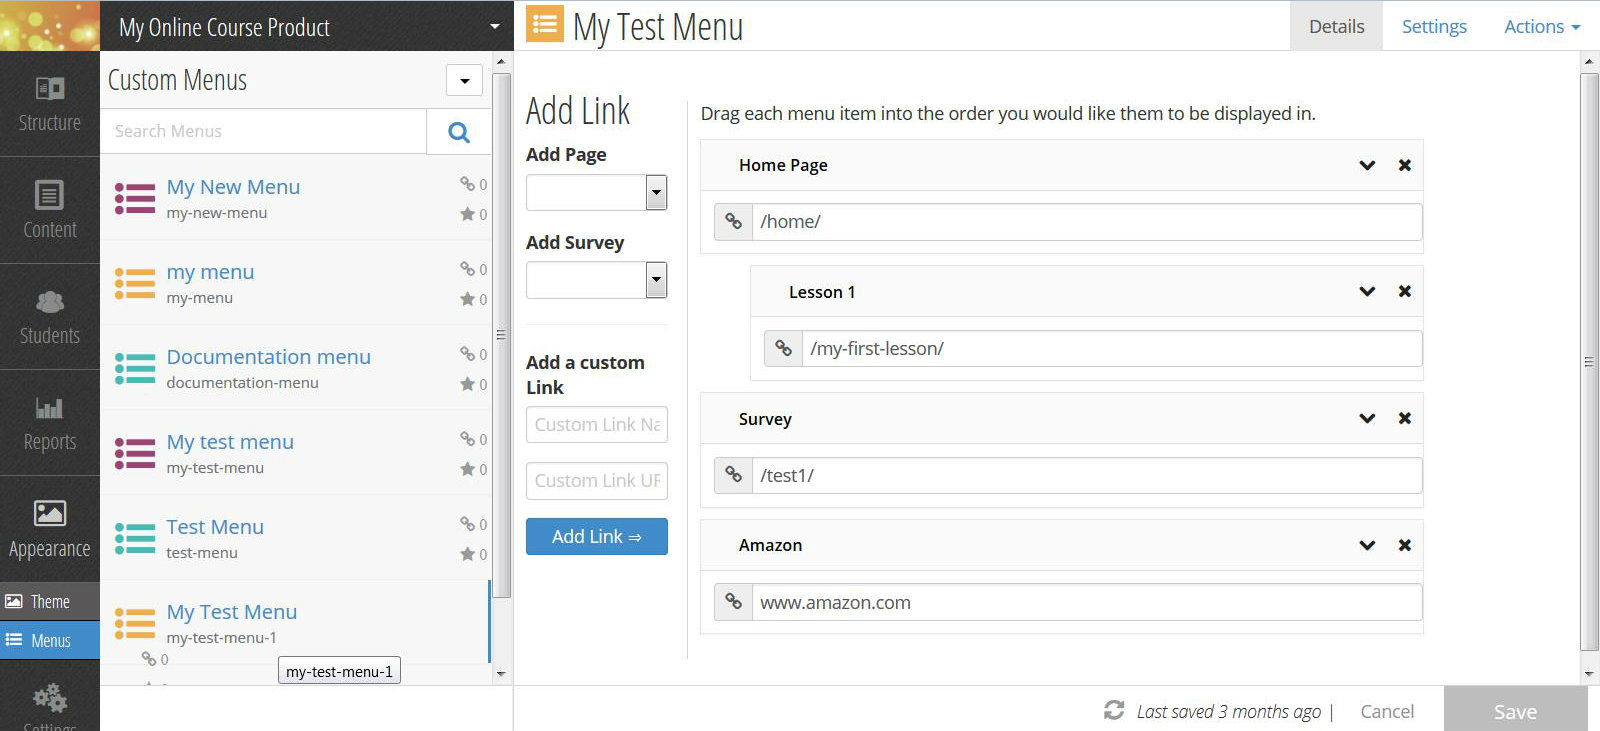
When you drag and drop a component into your menu, you will see it appear as a menu item with two fields – a name field and a URL field. Here, you can rename this menu item in order to customize your menu and give it clarity and efficiency. In addition, you may reorder your menu items by simply dragging them to different places in your menu. You can also create sub-menu items by simply dragging an item below and to the right of another item. Finally, by selecting “Add a Custom Link”, you can add a link to an outside website into your menu. When you’re done creating your menu, hit “Save” in the lower right corner.
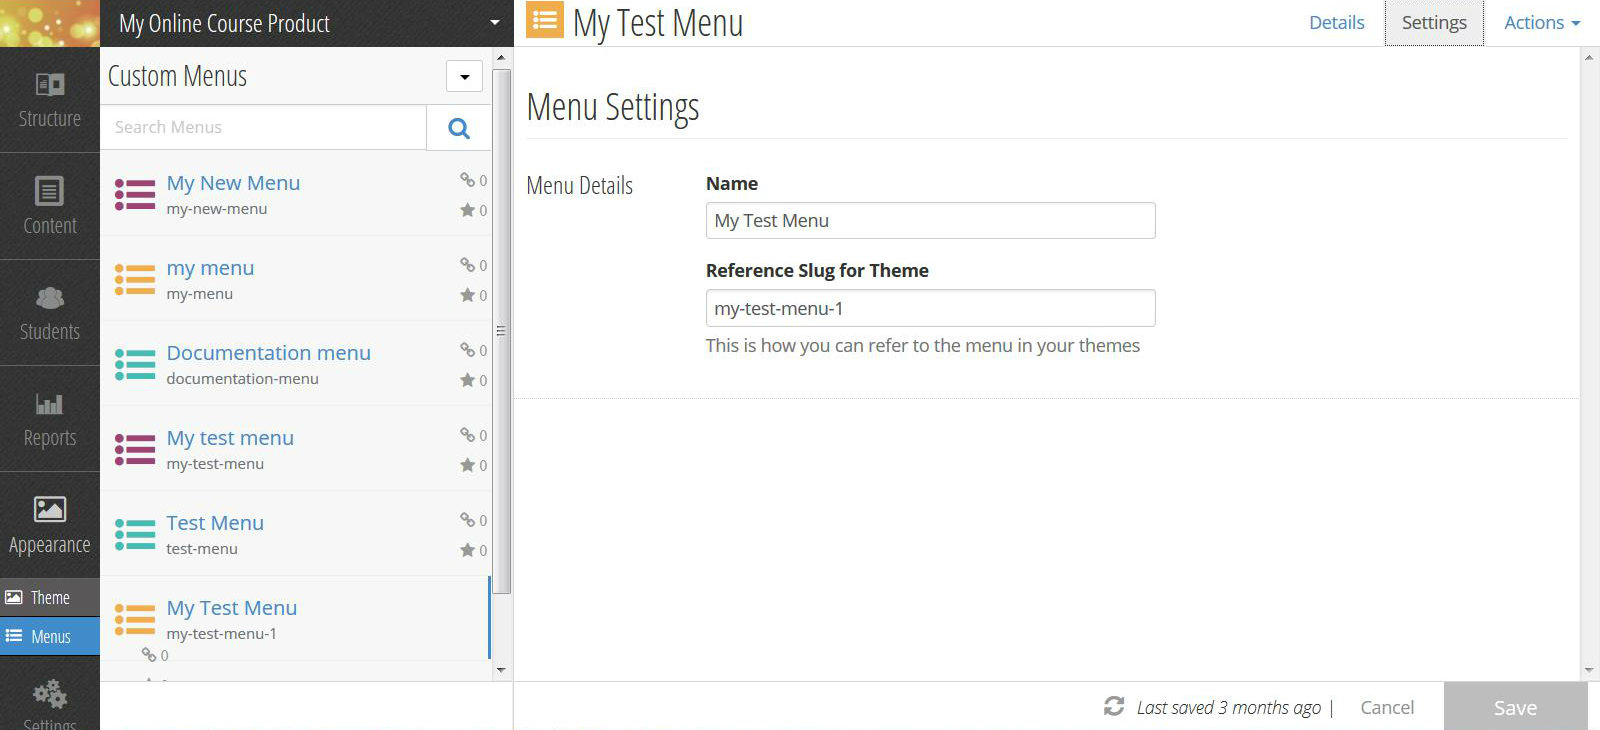
When creating your menu, you will see a horizontal menu in the upper right corner of the screen. In addition to the “Details” menu item are menu items for “Settings” and “Actions”. By selecting “Settings”, you can rename your menu and access a reference slug for theme for your menu. By selecting “Actions”, you can delete your menu if you wish.
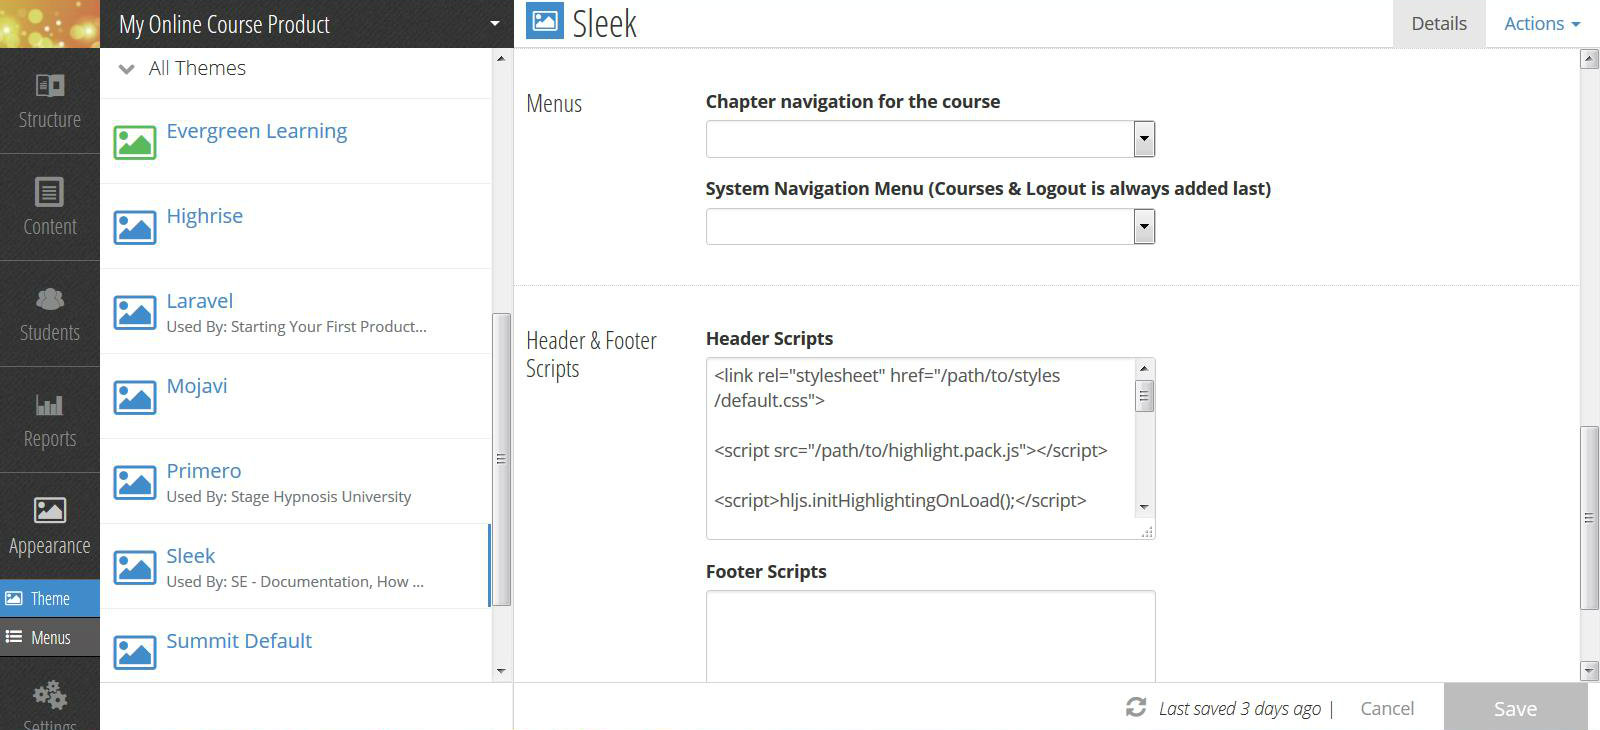
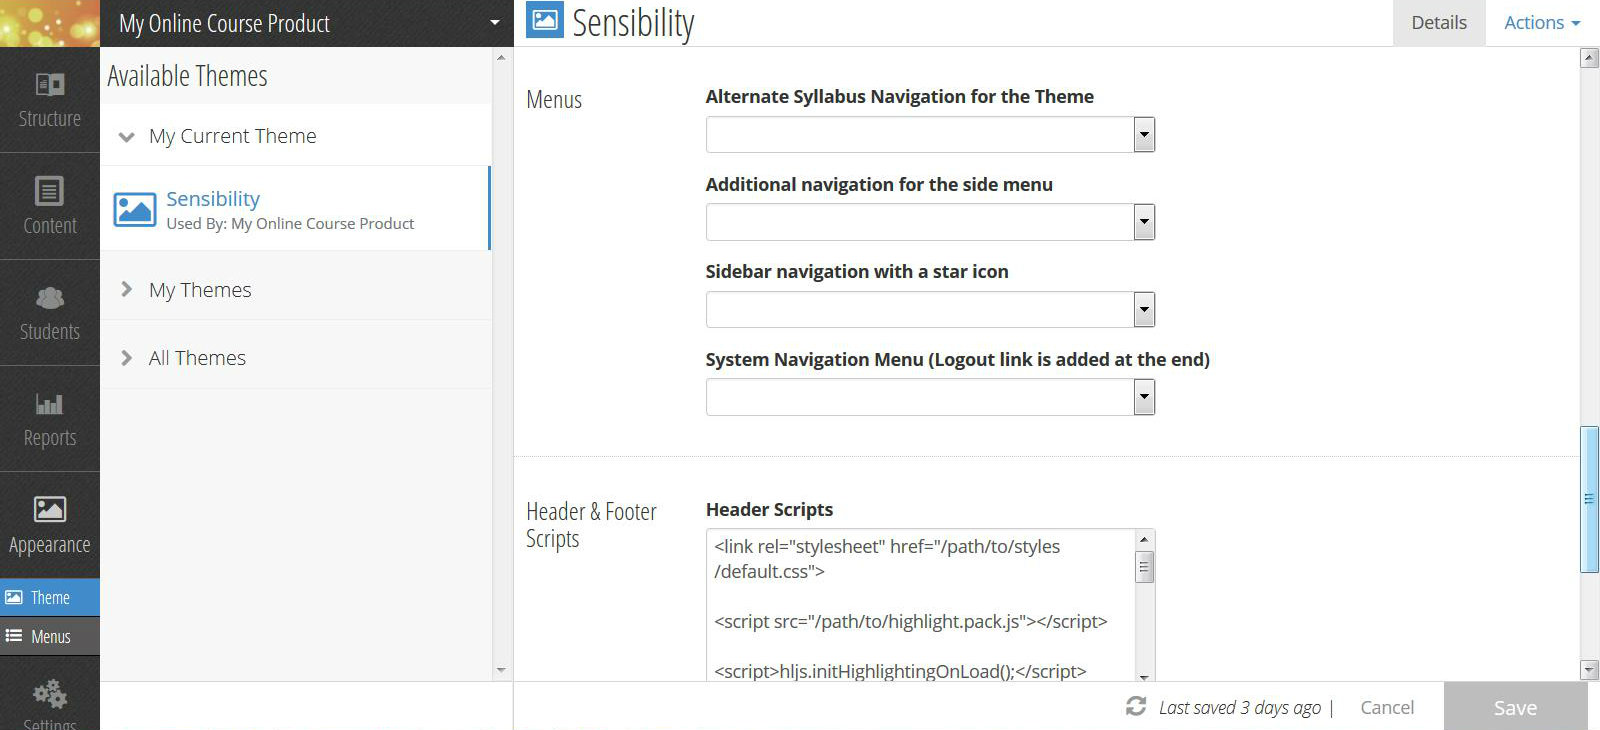
After you have created your menu and saved it, select “Appearance”, then “Theme” in the left navigation menu. In the left pane, select “My Current Theme”. In the right pane, you will then see a horizontal menu in the upper right corner of the screen. Select “Details”, then scroll down to “Menus”. Here you should select the navigations you wish to be governed by the new menu and assign your new menu to them. When you’re done, hit “Save” in the lower right corner.